
Datsun 240Z Restoration - Front Chassis |
www.VORD.net |
I'm arranging a replacement roof with enough adjacent structure attached to make the roof replacement on this car sensible and safe. So after months of quiet the project is go!
The rest of the shell is reasonably rust free and only needs work where you would expect the average UK car to need it. This one has the added complication that it's been rolled at some point and needs to be straightened at the same time.
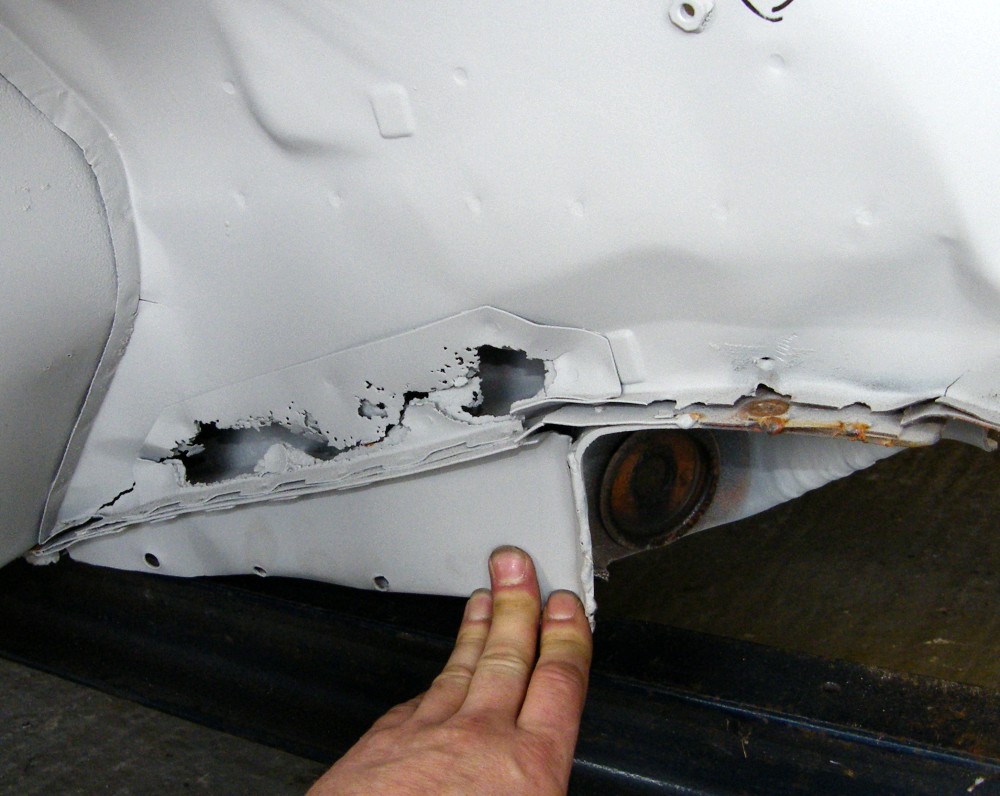 |
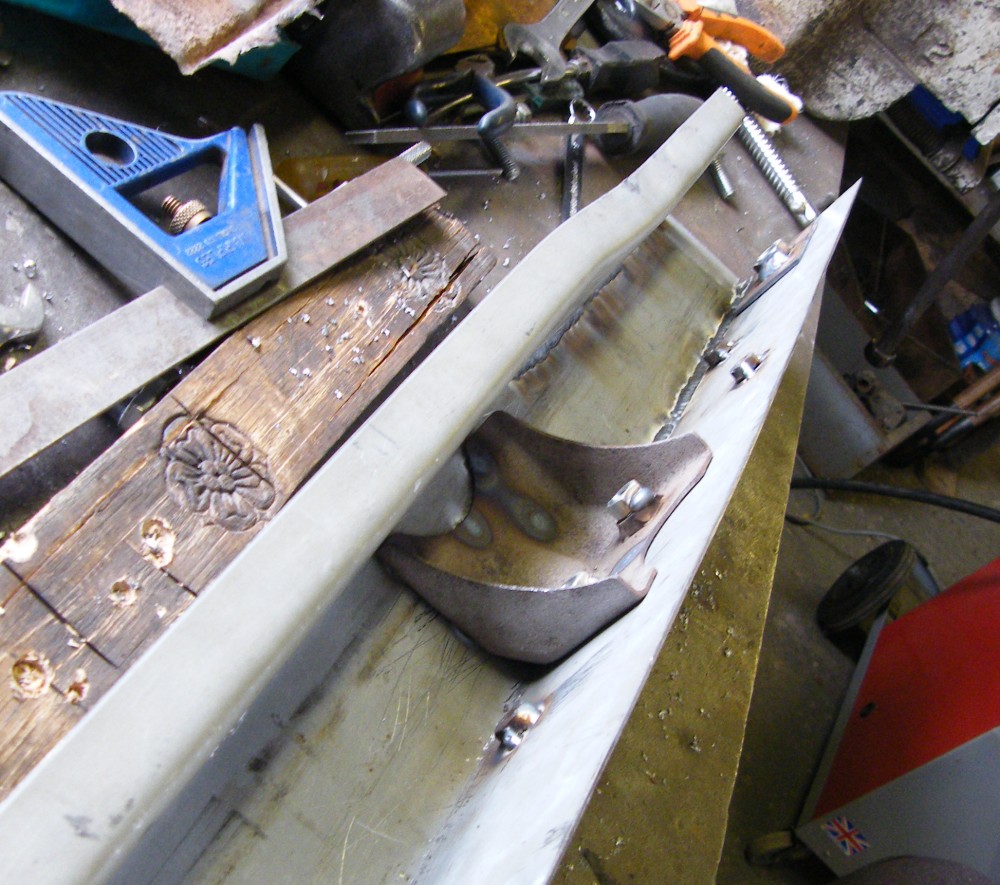
The first job is the front chassis as it's the last part of the straightening exercise on this car. With it being the only structural bit that's really bent, sorting it will allow me to sit the car on the chassis jig and get on with the floors and roof. Here's a reminder of one of the bits that needs to be fixed - the tie bar mounting has fatigued due to rust in that silly double skinned section. |
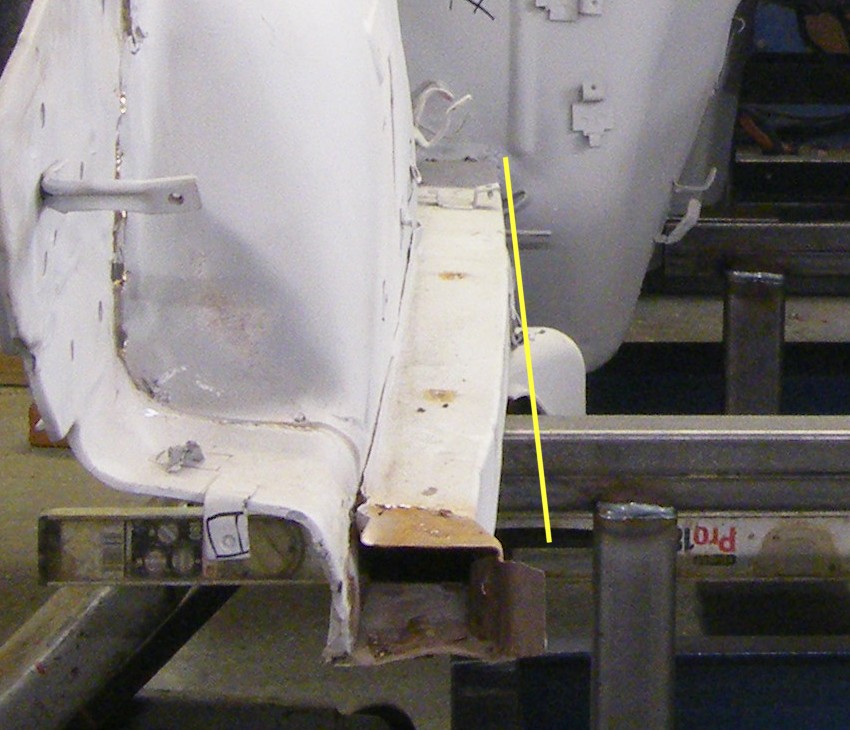 |
A more pressing problem is that the front chassis rails are bent and that makes them very difficult to bolt onto my jig. They aren't quite as bad as the photo suggests, but there is a kink above the tie rod mounting so they need to be replaced. |
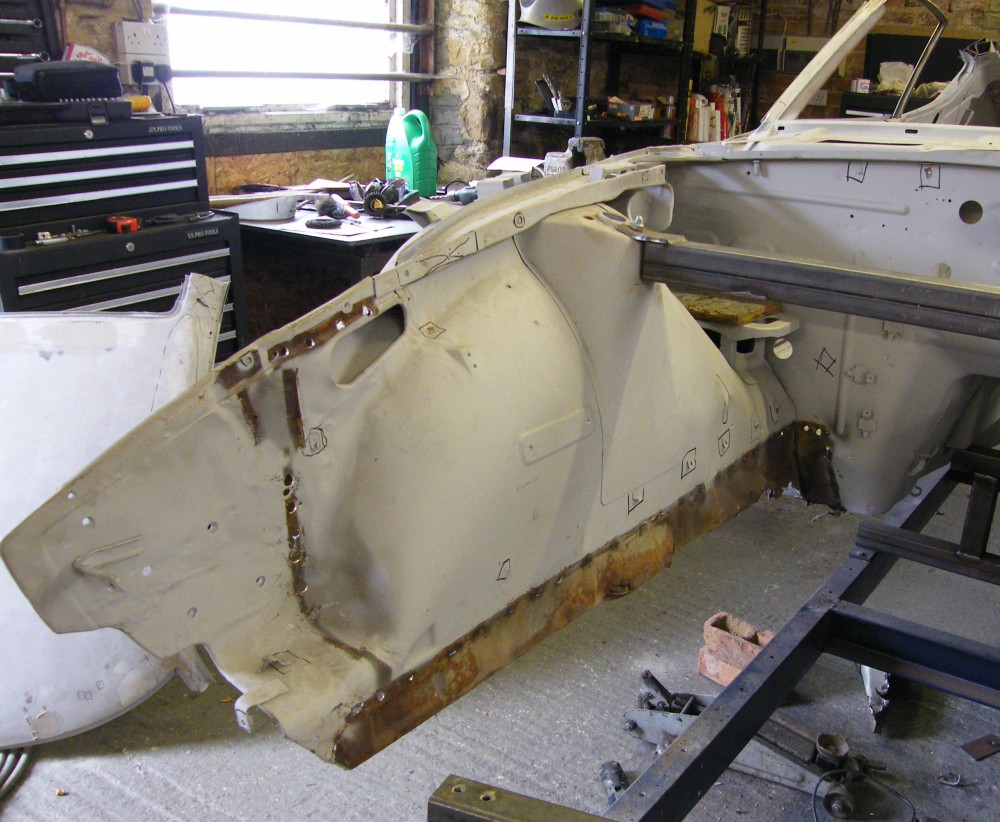 |
It's getting to the point that there's more missing from the shell than remaining (notice the roof is not at the extreme top right of the photo where it would normally be found, but is instead leaning against the toolbox to the bottom left). I've made a resolution to weld in a new bit before cutting anything else off. The rail was mostly removed by grinding the spot welds from the rail side and then picking the panel off with a screwdriver. This protects the inner panel from damage. |
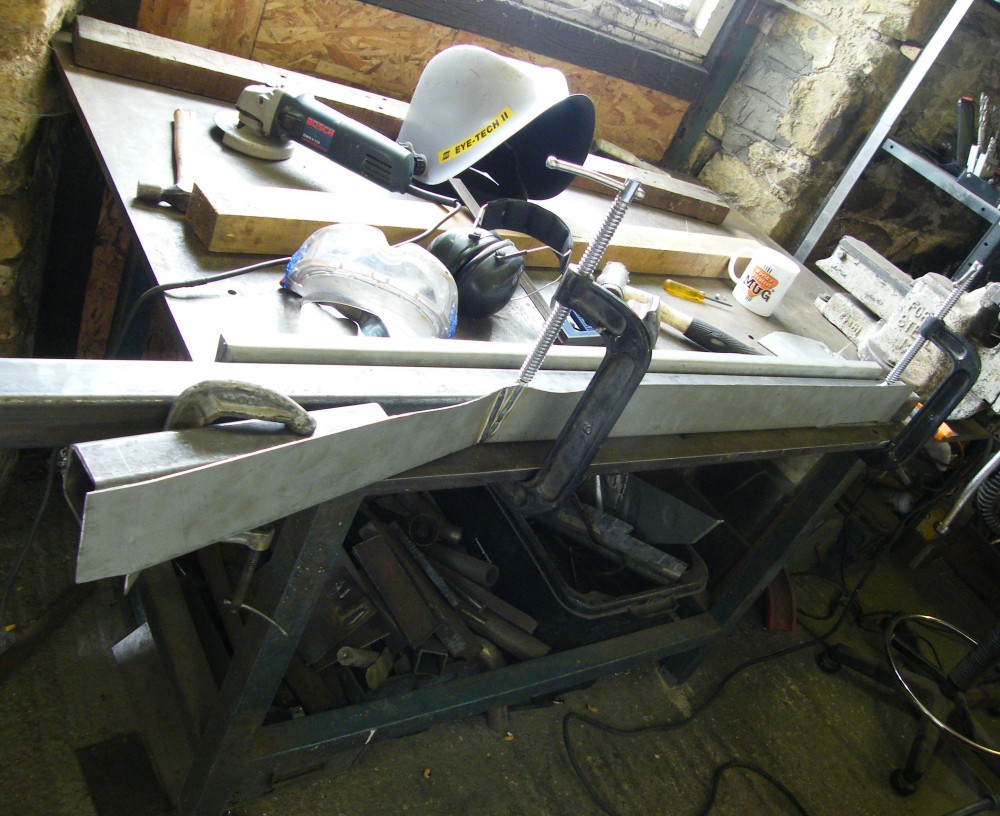 |
The replacement chassis rail was formed from 1.5mm steel. It was intended to be the same thickness as the original, but feels a fair bit heavier. Lacking a 100 tonne press and the appropriate dies the rail was formed on a metal bender and then the fiddly bits were welded in. Here it's clamped down to weld a small triangle into the intersection between the angled part at the bottom and the lower part of the rail. That will be reinforced by the tie bar mounting. |
 |
The front of the rail which reduces in section to accommodate the front crossmember was treated in a similar fashion. In hindsight it might have been easier to modify the front crossmember and keep the chassis rails straight to the front. The reinforcements were taken from the old chassis rail, shotblasted, and then plug welded in place. |
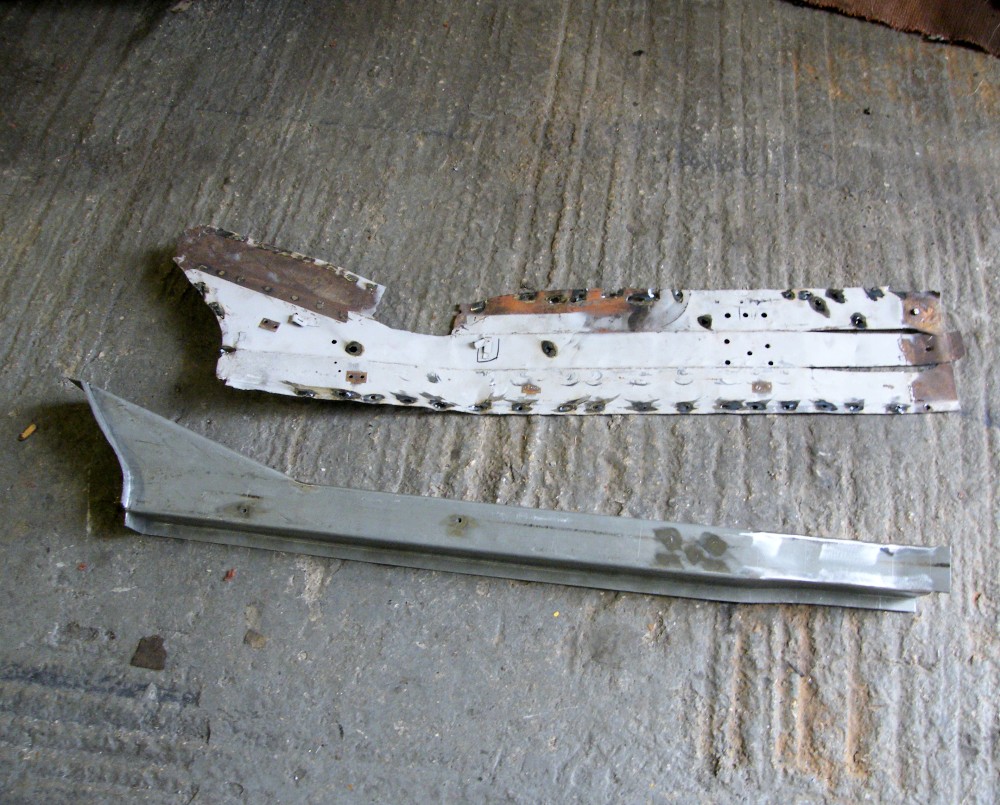 |
I ended up flattening the old section for use in checking the dimensions of the replacement section. It turned out handy to have it flat for working out relative positions for all the bolt holes. I'm using the engine crossmember position as the main reference point for the new rails and am measuring the other hole positions from that. The new rail took me about 10 hours to make in total. |
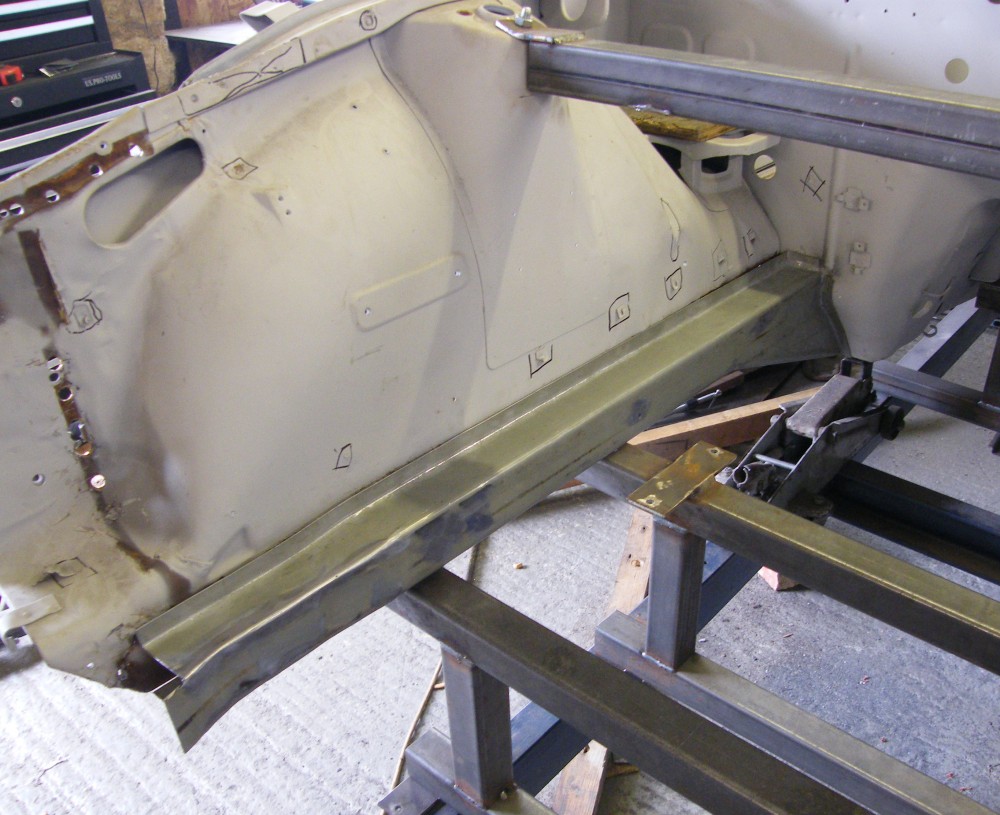 |
Here's a trial fit of the new section. It fits reasonably well, though I had to mess around with the flange at the rear a couple of times to match the bulkhead. It looks neat from this side, but there's still a fair bit of work needed on the inner wings and bulkhead before it can be welded in position. |
More later... Back to Datsun 240Z
Back to: VORD's Classic Cars > Datsun 240Z